How to take headshots with your phone while in quarantine!
How to take headshots with your phone while in quarantine!
This is going to be a pretty candid blog post. For over a month, we have not been able to take any sort of photos. Our last session was March 8th, and since then, I've just been trying to get a grasp on this changing landscape due to COVID-19. I very recently had a couple of people reach out about at home sessions and, unfortunately, I'm not opening up my calendar again until (hopefully) July.
It really is heartbreaking to tell people I cannot take their photos until possibly the middle of summer. That's extremely weird, uncomfortable, and downright depressing. However, I RECENTLY (4 days ago) started trying to make the best of it. I want to give business owners the opportunity to still get photos to update their website and social media. Photography as a tool is absolutely necessary, even though phtoography as a career is considered non-essential. With that in mind, I started thinking of ways to help people take their own headshots from the comfort of their homes and with the ease of their cell phones.
I was inspired to create this post by a photographer named Graceful Designs Photography. She gave amazing instructions to new parents on how to take their own Fresh 48 photos while we are all currently social distancing. I wanted to kind of expand on that for entrepreneurs, which is why I created a quick step-by-step post that will hopefully keep your website updated and social media game strong!
Turning your selfies into headshots!
I'm gonna admit, I was very nervous to try this. I had no idea if it would work, or be helpful, but after a small breakdown (I cry so you don't have to) I was able to formulate a coherent guide (complete with images) for turning selfies into headshots! ALL of the images in this blog are done with my or Shawn's cell phone so that you can see that you can create usable content right now. Do I condone using your phone vs having a professional photographer take your images? No, absolutely not. But while we're all in lockdown, some concessions must be made. My phone is a Pixel 3 and was used in all of the final headshot images. Shawn's phone is a OnePlus 6 and were used for selfie stick and behind the scenes images. The Pixel 3 camera is superior.
Shawn helped me for some of the images, but I also did some on my own just in case you don't have someone at home to help shoot! Warning, this blog post contains a lot of my face...it can be a little daunting XD.
FINDING THE PROPER AREA TO SHOOT IN
One of the most important steps is to find an area in your home or yard that has awesome, even lighting. If you're inside, find a window that lets in a good amount of light throughout the day.
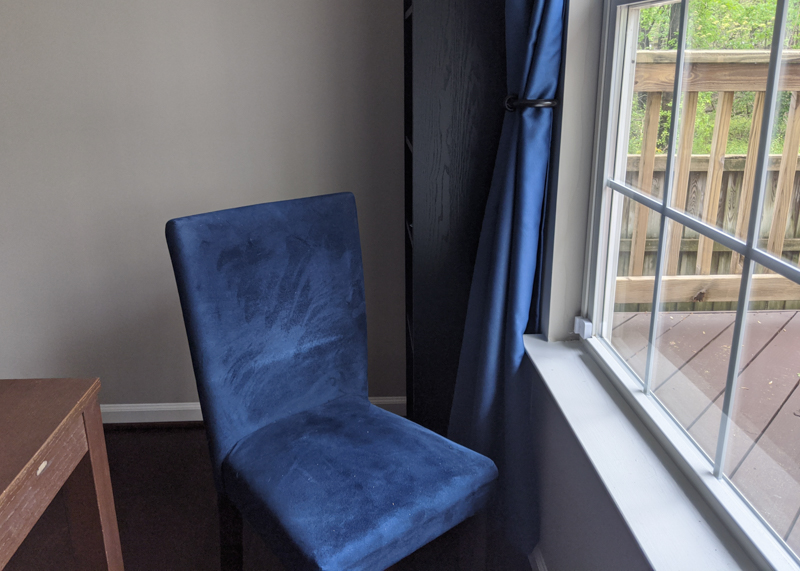
I used our dining room because it has a really gorgeous big window, and our walls are pretty neutral in that room; however any standard sized window will absolutely work. It's also important to note that I took these photos on a rainy, cloudy day. If you are thinking of doing this on a sunny day, watch how the sunlight hits your chosen space throughout the course of a day. You do not want full sun coming in and blinding you or making you look like a Marvel supervillian. No body wants to willingly hire Thanos.
It's also important that before you take your photos to turn off any artificial overhead lighting. You should only be working with the window light for best results.
FIGURE OUT HOW YOU WANT YOUR HEADSHOTS TO LOOK
Depending on the dramatics that you want your headshots to have, you'll want to either face head on with the window, or give a little turn away. For most professional headshots, you want a good balance of light, however, these are your photos and if you want drama, then you can have drama. It's as easy as angling your setup toward or away from the window.
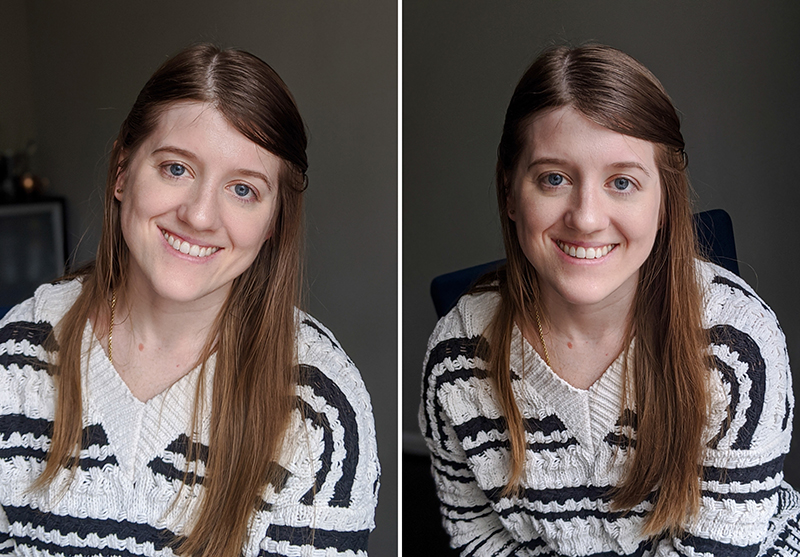
Both images were taken 1 second apart and edited with exactly the same settings. The only difference is I'm angled a little bit away from the window in the right image and towards the window in the left.
It's also important to note, that if you feel the light is too harsh on your face, scoot away from the window. The farther you get, the more the light will naturally diffuse as it filters into your home.
SETUP!
I wanted these instructions to be obtainable whether you had someone to assist you in the image taking, or if you were doing it on your own. You'll want to use you phone's rear camera NOT the front facing camera. It will take a little extra time making sure everything is lined up, but your rear camera is the better lens and will give you crisper, nicer images. I used Shawn to shoot some of the photos, but then I also created a DIY tripod using household items. You'll see my hilarious little setup in the photos below, but hey, it worked and that's all that matters! Don't let not having a tripod keep you from new images!
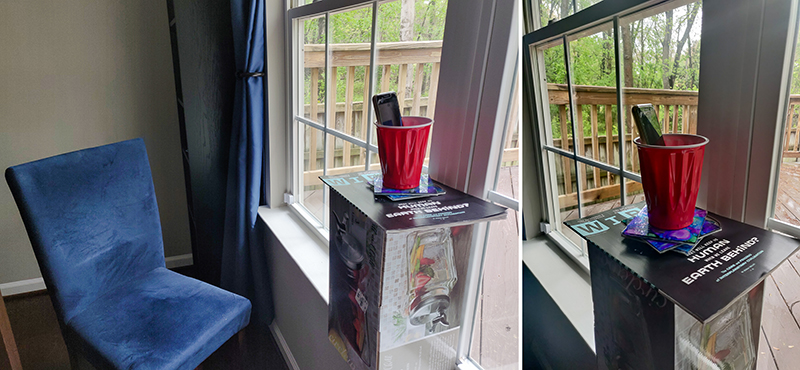
Moral of the story is: use what ya got! I had a cup that fit my phone, a leftover box, and a self timer!
I also tried to use a selfie stick, but unfortunately that requires you to use one of your arms to position it, so I was either getting into an awkward pose, or I was getting the pole in my shots, or the images had motion blur to them. Three things I don't want in my headshots.
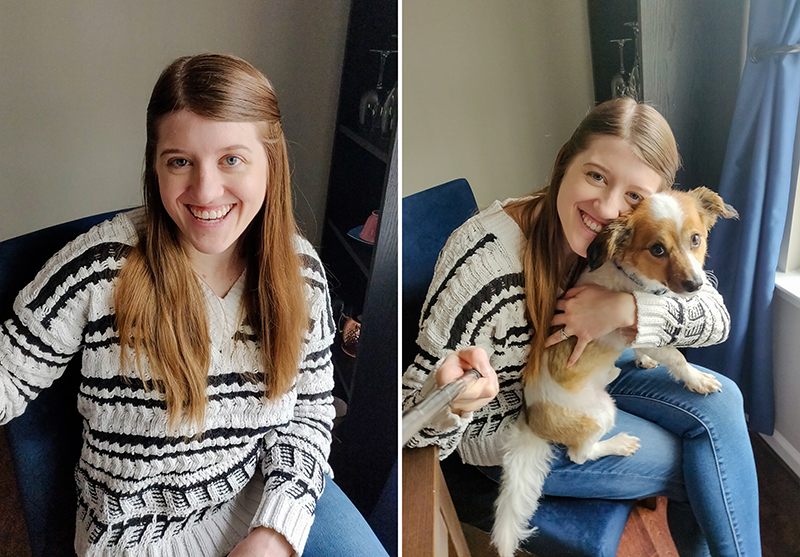
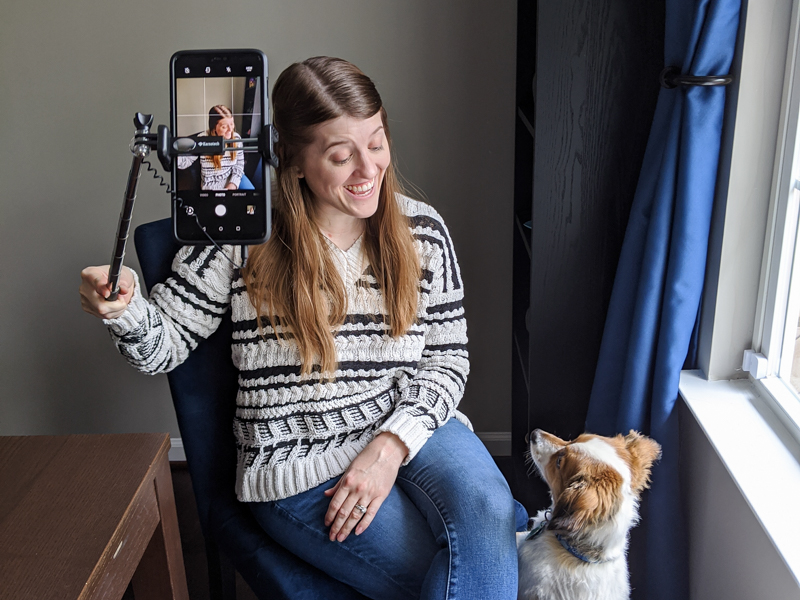
Also, don't be afraid to experiment with portrait mode and the regular camera mode! I gave both a try. Some phones are very extra with their portrait mode and blur just about everything, so play around a little!
ANGLES DO MATTER!
Whether you're doing your own setup with random household objects, or you're enlisting the help of a family member, getting your angles right is extremely important. For images that I was having Shawn shoot, I had him go up at about a 10-15 degree angle from my eye. It's a flattering angle, and also not super extreme to the point that it changes your natural appearance.


AND POSE, AND POSE, AND POSE
This can be the most challenging steps for some people. We don't all come with Kylie Jenner posing instructions, so it can truly be the most difficult aspect of this process. When you feel like your setup is good, your light is perfect, and you're ready to shoot your images, do a quick stretch. Stretching can really make a difference in how relaxed you are and how natural your posing flow is. You can also try making some silly faces, whatever gets you comfy.
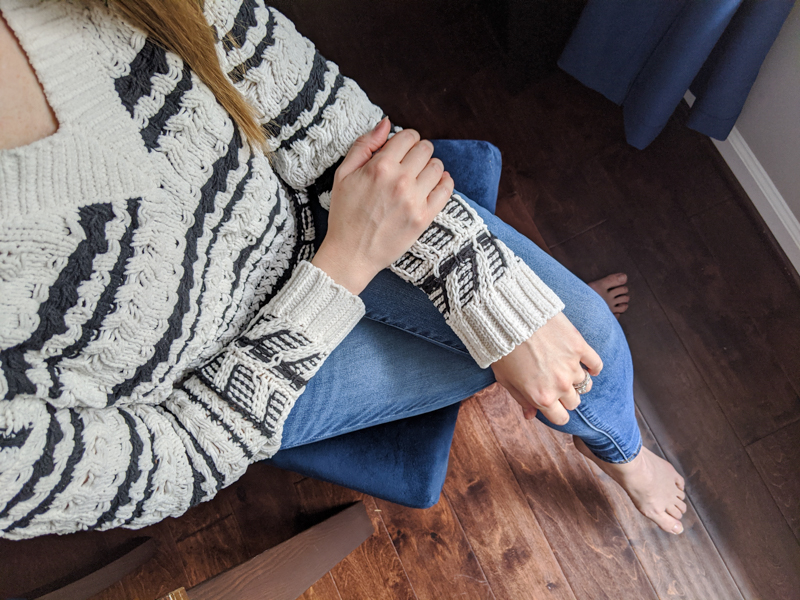
If you aren't sure what poses you should even do, don't worry! Below you'll find some of the most basic poses I like to use for headshots. The way my legs are, how my hands fall, where my shoulders are pointed are all aspects of posing that I'm laying out below.
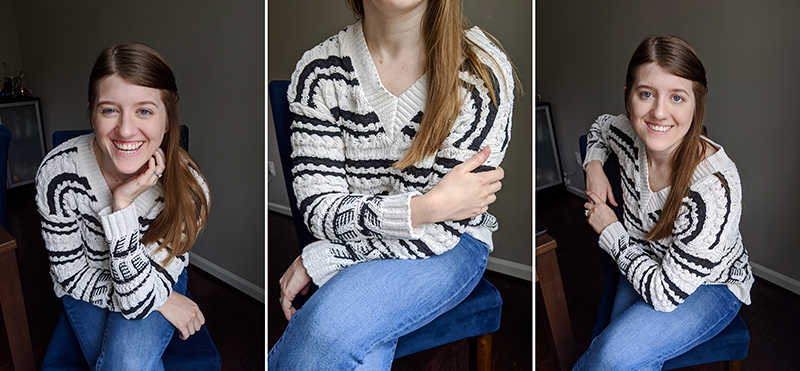
GETTING THE FINAL TOUCHES WITH EDITING
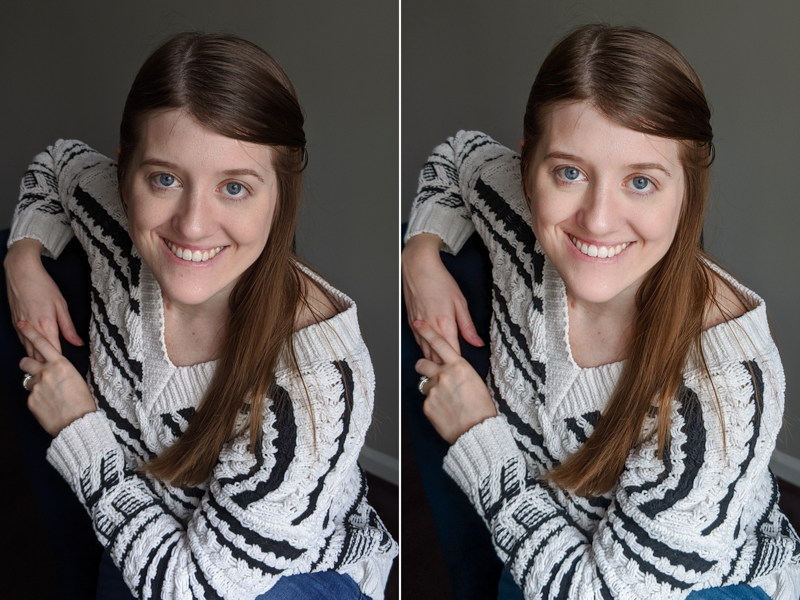
If you're not a photographer or a 16-year-old you may not know the first thing about editing your finished images. Editing is very important, especially for your cellphone photos. Your images, right from the phone, are going to look kind of weird. There's a distortion that our phone cameras do to our images that make them very wide angled. Even when using portrait mode there's some aspect ratios that are a bit strange-looking. If you want to practice with editing, there's a lot of free apps, but my favorite is the Adobe Lightroom app. It's great, free, and one of the few things I commend Adobe for.
Below is an example of a before and after edited image I took of myself.
TO WRAP THIS ALL UP
Quarantine doesn't mean that we can't keep making content with our beautiful faces! To summarize the steps:
1. Find a window that allows some good natural light to flow in.
2. Turn off any artificial lighting in the surrounding rooms.
3. Use your rear facing camera (the one on the back of your phone) for sharper and better phone images.
4. You can make a tripod out of just about anything, so don't worry if there's no one home to help you take the photos. Your phone's camera timer is your friend.
5. Angles matter, so play around with the phone to figure out your angle (I used 10-15 degrees up from my eye).
6. Posing is not hard, do not be afraid of it!
Taking these photos was the first time I put make-up on in over a month, and it honestly felt really great! It's easy to get into a slump while in isolation, but as long as we keep encouraging each other to create we'll be left stronger and better when on the other side of any hardship.
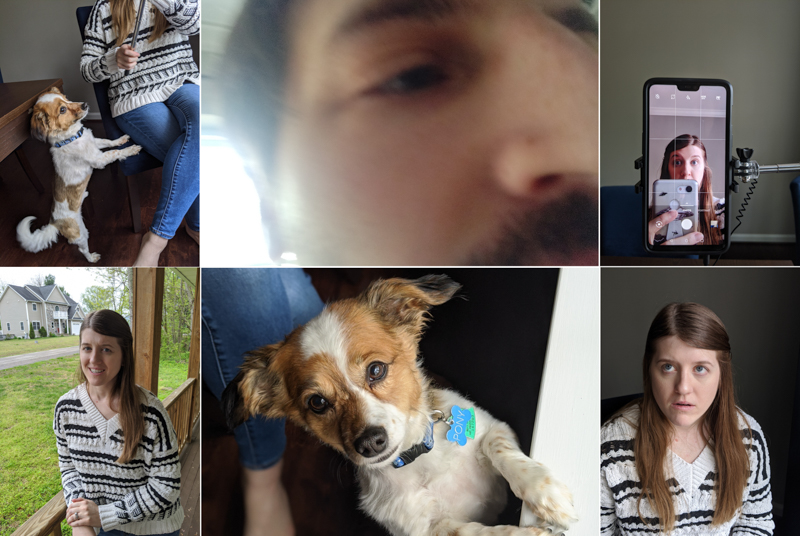
Also, enjoy some of the outtakes from this session.
